This is a hands-on step-by-step document that helps you to set up and perform a usability test!
How to set up and preform a usability testing
A usability test plan outlines the procedures and methods for evaluating the usability of a product or service with real users. This can be a short, but practical document for yourself, the team, stakeholders and the client.
Be aware of the fact that usability testing can be something completely new for your client’s stakeholders. It’s always a good idea to elaborate on the reason why it’s important to perform a usability test.
Here are the steps to set up a usability test plan:
Define the goals and objectives of the usability test
What are you trying to accomplish with the usability test? What questions do you want to answer? Identify the key performance indicators (KPIs) that will be used to measure success. Some examples:
- Does the design meet the user’s expectations?
- Do the business requirements match the real world?
- How successful are the users in performing all the tasks?
- Are we on the right track?
- Is the new application equal to or better than the current system?
- What are possible optimizations for the future?
Identify the target audience and recruit participants
Determine the characteristics of the users you want to test. This includes their demographics, experience, and skill level. It can be helpful to develop user personas that represent the different types of users who might interact with the product or service. User personas can help you understand the behaviors, needs, and goals of your target audience.
Your client’s stakeholders can usually help you with recruiting participants. When this is not the case, you can use various recruiting methods, such as online ads and social media.
Usually, 5 participants are enough to get a good sense of all the usability problems.
Choose the tasks to be tested
Define the specific tasks that users will perform during the test. These tasks should be representative of the typical actions users will take when interacting with the product or service.
- Identify the key user goals: Analyze the product or service and the user personas to identify the key user goals that are important for your target audience.
- Develop scenarios and task flows: Develop scenarios and task flows that simulate real-world usage of the product or service. This can help you identify the specific tasks that users need to complete to achieve their goals.
- Choose a mix of tasks: Choose a mix of tasks that cover different levels of difficulty and different aspects of the product or service. This can include tasks that test navigation, search, data entry, and interaction with specific features or functionalities.
- Test the tasks: Test the tasks with a colleague to ensure that they are realistic, achievable, and representative of the actual user experience.
Tip: use the epics and user stories in Jira to make sure you covered all the tasks.
Determine the testing methodology
There are several testing methodologies you can choose from, such as moderated or unmoderated testing, in-person or remote testing, and think-aloud or observation-based testing. Choose the methodology that best fits your goals and resources.
If the application is mostly used in a supermarket store (such as PLUS StoreOps) it’s better to conduct the test in this environment, because the context is really important here. If you test an application on a desktop that is used in an office, you can also decide to do remote testing.
Create a test script
Develop a test script that includes the tasks to be performed, the questions to be asked, and the prompts to be given to users during the test. The script should also include instructions for the moderator and any necessary materials for the test. Stay as close to the real world as possible.
Conduct the usability test
The day of the usability test is finally here. Use these steps to make it successful.
- Set up the testing environment: Prepare the testing environment by setting up the equipment, such as the computer, recording software, camera, and microphone. Test your set up!
- Welcome the participant: Make them at ease and explain what you’re going to do. It’s always a good idea to explain that you’re testing the application and not the participant. Everything they feel and think is OK and important for the test.
- Conduct a pre-test interview: Begin the test with a pre-test interview to collect demographic information and understand the participants’ experience and expectations with similar products or services. This is also the moment where you can ask about their current experiences and situation.
- Introduce the tasks: Introduce the tasks and scenarios to the participant, explain the purpose of the test, and provide any necessary instructions.
- Observe and record behavior: Observe and record the participant’s behavior as they complete the tasks. Encourage participants to think aloud and provide feedback throughout the test.
- Ask questions: Why does the participant click on a certain element? What do they expect to happen?
Tip: keep your bias out of your observations and never prompt the user. Follow, don’t lead!
Analyse the results
After you’ve collected data during a usability test, the next step is to analyze the data to gain insights into the user experience. Here are some steps to follow when analyzing usability test data:
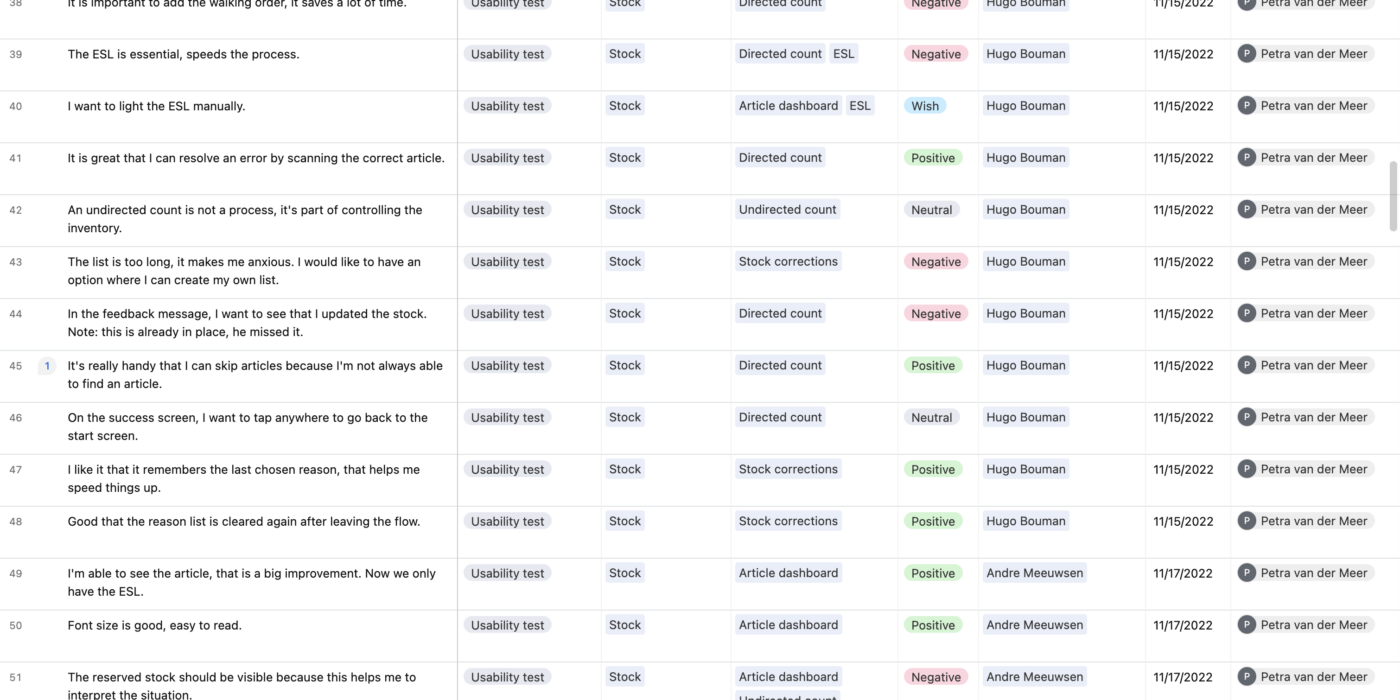
- Review the data: Go through all the data that you have collected, such as observations, surveys, and performance metrics. Organize the data into categories, such as common themes, issues, and patterns.
- Identify issues: Look for patterns and issues that arose during the test, such as usability problems, errors, and confusion. Categorize the issues based on their severity and frequency.
- Prioritize issues: Prioritize the issues based on their severity and impact on the user experience. Some issues may be minor and easy to fix, while others may be critical and require immediate attention.
- Group similar issues: Group similar issues together to identify common themes and patterns. This will help you to identify the root causes of the issues and develop solutions.
Prioritise and rank issues
The ICE model is a prioritization framework used to rank issues that arise during the usability test. ICE stands for Impact, Confidence, and Ease. Here’s how to use the ICE mode:
- Formulize the user story: Now you find the usability problems, you formulize a user story to improve on this issue. For example, as a user I want to be able to remove my search term.
- Propose a solution: In the field ‘Proposed iteration’ you write down the solution. Optional is to add a design in the field ‘Attachment’.
- Score the issues: For each issue, assign a score from 1 to 10 for each of the three categories: Impact, Confidence, and Ease.
- Impact: This refers to the impact the issue has on the user experience. Assign a score based on how severe the issue is and how many users it affects.
- Confidence: This refers to the level of confidence you have in your assessment of the issue. Assign a score based on how certain you are that the issue is a real problem.
- Ease: This refers to the ease of fixing the issue. Assign a score based on how easy it is to implement a solution to the issue.
- Calculate the ICE score: As you fill in the ICE mode, Airtable will calculate the score and rank this with the highest score at the top of the list.
By using the ICE model to rank issues, you can focus on addressing the issues that have the greatest impact on the user experience, while also considering how confident you are in your assessment and how easy the issue is to fix. This can help you prioritise your efforts and resources to make the greatest impact on improving the usability of your product or service.
Report and act on findings
Share the results of the usability test with stakeholders and team members. Use the findings to inform design decisions and make improvements to the product or service.